Free Watercolour Tutorial – Pleasure in the Detail… The Modern Painter Part 2
Last month Helen Campbell took you through the processes needed to paint a flower with botanical accuracy. This month build your skills and confidence in watercolour by painting a simple object – an apple- using the wet-on-dry layering technique.
This tutorial is from the December 2014 edition of Leisure Painter Magazine.
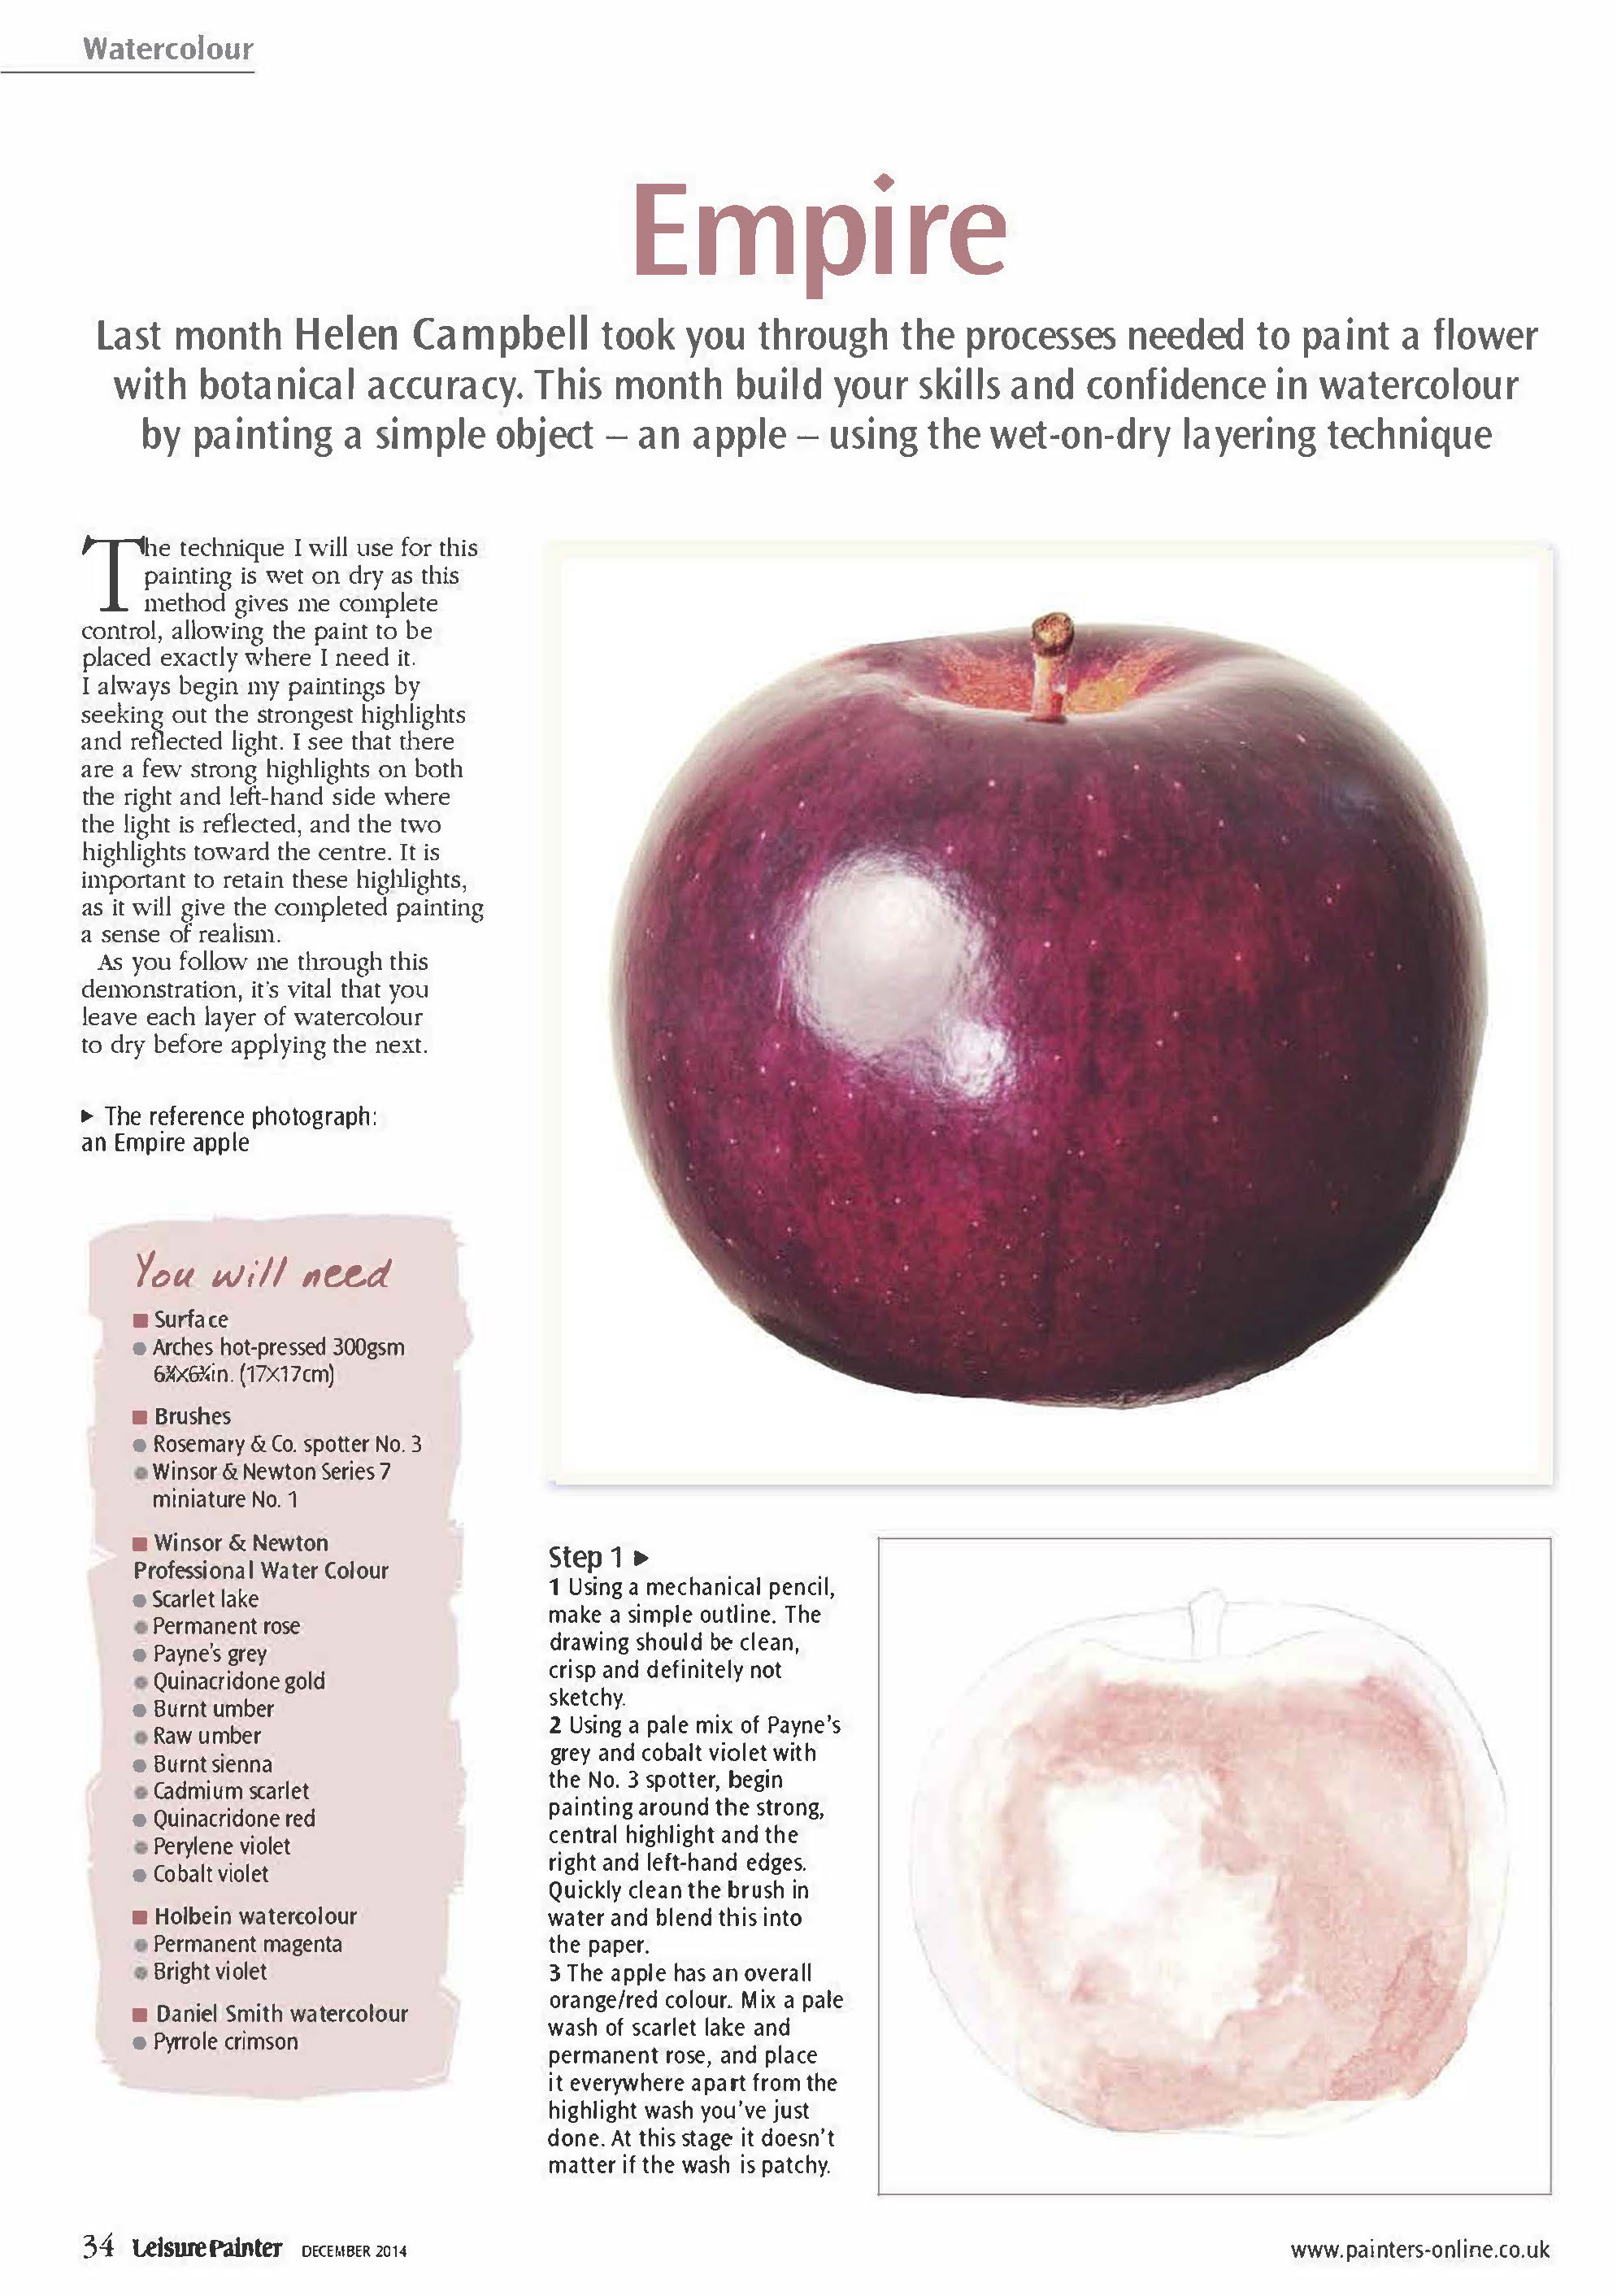
The technique I will use for this painting is wet on dry as this method gives me complete control, allowing the paint to be placed exactly where I need it. I always begin my paintings by seeking out the strongest highlights and reflected light. I see that there are a few strong highlights on both the right and left-hand side where the light is reflected, and the two highlights toward the centre. It is important to retain these highlights, as it will give the completed painting a sense of realism. As you follow me through this demonstration, it’s vital that you leave each layer of watercolour to dry before applying the next.
Step 1…
- Using a mechanical pencil, make a simple outline. The drawing should be clean, crisp and definitely not sketchy.
- Using a pale mix: of Payne’s grey and cobalt violet with the No. 3 spotter, begin painting around the strong, central highlight and the right and left-hand edges. Quickly clean the brush in water and blend this into the paper.
- The apple has an overall orange/red colour. Mix a pale wash of scarlet lake and permanent rose, and place it everywhere apart from the highlight wash you’ve just done. At this stage it doesn’t matter if the wash is patchy.
Click the link here or at top of page to download part 2 of the full PDF tutorial.